When you’ve been working with MIDI drums for as long as I have, you’re bound to come up with some pretty nifty tricks. I only recently started recording with an actual drum kit, so I’ve been relying on my trusty sample library (Steven Slate Drums 4) for over 5 years! That’s why I want to teach you how to program realistic MIDI drums.
If you want to learn how to program realistic MIDI drums, you’ll need your DAW, MIDI/USB keyboard controller and high-quality drum sample library (Steven Slate Drums, Superior Drummer, etc…). Once you’ve got those tools, you’re ready to start applying the knowledge I’ll be sharing with you today. It involves learning how to layer ghost-notes, dynamics and swing on top of your snare/hi-hat parts. Read this article to find out more or you can also watch the video if you’re more visual!
- To program realistic MIDI drums, you need to perform your parts
- To program realistic MIDI drums, you need to layer ghost-notes
- To program realistic MIDI drums, you need to work with dynamics
- To program realistic MIDI drums, you need to work with swing
- Here’s what it sounds like in the mix (examples)
To program realistic MIDI drums, you need to perform your parts
If you’ve grown accustomed to programming your MIDI drums using a mouse/keyboard, it’s no wonder why your parts may sound “artificial”. Even if you manually edit the note-velocities afterwards, it’ll never replicate the effect of a musician performing the part.
That’s why I ALWAYS perform my parts using my M-Audio Hammer 88.
Even if it’s not perfect, you can easily edit the MIDI performance afterwards. That’s why we use tools like quantization and plugins like compressors. What’s important is that you capture the dynamics of each part so it’s naturally “flawed”.
You can always try again if your first take wasn’t the one!
It’s much faster and more efficient to work in this way, so it’s worth it.
However, you’ll find it quite difficult to perform the ENTIRE drum part using your MIDI/USB keyboard controller. That’s why I usually separate my parts into “groupings”.
This is how I divide the tasks:
- Kick + Snare
- Toms
- Cymbals
I may use more/less groupings depending on the complexity of the drum part.
To program realistic MIDI drums, you need to layer ghost-notes
The most important element of any drum performance is the ghost-notes. They’re the notes we “feel”, but we don’t necessarily hear them (although I certainly hear AND appreciate them).
Certain musical genres like funk, jazz and rock frequently employ ghost-notes.
You’ll usually hear them in the snare drum and the hi-hat parts. However, ghost-notes can be applied to just about any drum/cymbal. They’re simply notes that are placed “in between the cracks” that provide what we refer to as the “feel”.
Performing these on an actual drum kit can be challenging, but doing the same using your MIDI/USB keyboard controller can seem impossible. I was determined to find a way to perform my ghost-notes using this method, and I succeeded!
I discovered a simple 3-step process that made it possible:
- Record the main kick/snare drum part
- Layer the ghost-notes on top of the main part (loudly)
- Manually lower the ghost-notes so they sound like ghost-notes
For more detailed instructions, I recommend checking out the tutorial I made.
Most MIDI/USB keyboard controllers aren’t sensitive enough to get that kind of dynamic range. Either way, the keyboard isn’t the best surface to replicate the articulations of a drum.
To program realistic MIDI drums, you need to work with dynamics
By performing your MIDI drum parts, you’ll naturally be provided with dynamics. Most musical genres really benefit from that “live kit” sound, but certain genres (like metal), might not.
Either way, you can always “equalize” the velocities afterwards.
What you CAN’T do is add them in afterwards.
Sure, you could use some type of velocity randomizer tool, but it wouldn’t necessarily capture the essence of what you had in mind. For example, you can’t randomize a crescendo, you’ll have to perform it or edit it in afterwards.
Even if your performance doesn’t sound perfect, most drummers aren’t perfect either.
That’s why we use tools like compression.
Worst comes to worst, you can always go for another take. I think it’ll be worth it in the long run if you learn the valuable skill of performing your parts. You can even temporarily reduce the tempo of your project if the part seems too difficult at full-speed.
That’s why working with MIDI is incredibly advantageous!
To program realistic MIDI drums, you need to work with swing
Another concept that most music producers aren’t familiar with is “swing”. Hip hop music employs this technique quite often and it actually comes from jazz music.
However, you’ll notice that every genre has its own “swing”.
Even classical music isn’t completely “straight” (it’s only written that way). Most DAWs will usually allow you to add some swing and with Logic Pro/GarageBand, it can easily be tweaked from 0 – 100. I recommend diving into this!
It becomes even more interesting when you start layering different types of swing.
For example:
- Your hi-hat part is straight (around 30% swing)
- Your kick/snare drum part is swung (around 100% swing)
With some fine tweaking, you can really make your MIDI drums come to life!
Even if the musical genre you’re working with is “straight”, I always recommend setting everything somewhere around 10% swing. It makes it sound more “human”.
Here’s what it sounds like in the mix (examples)
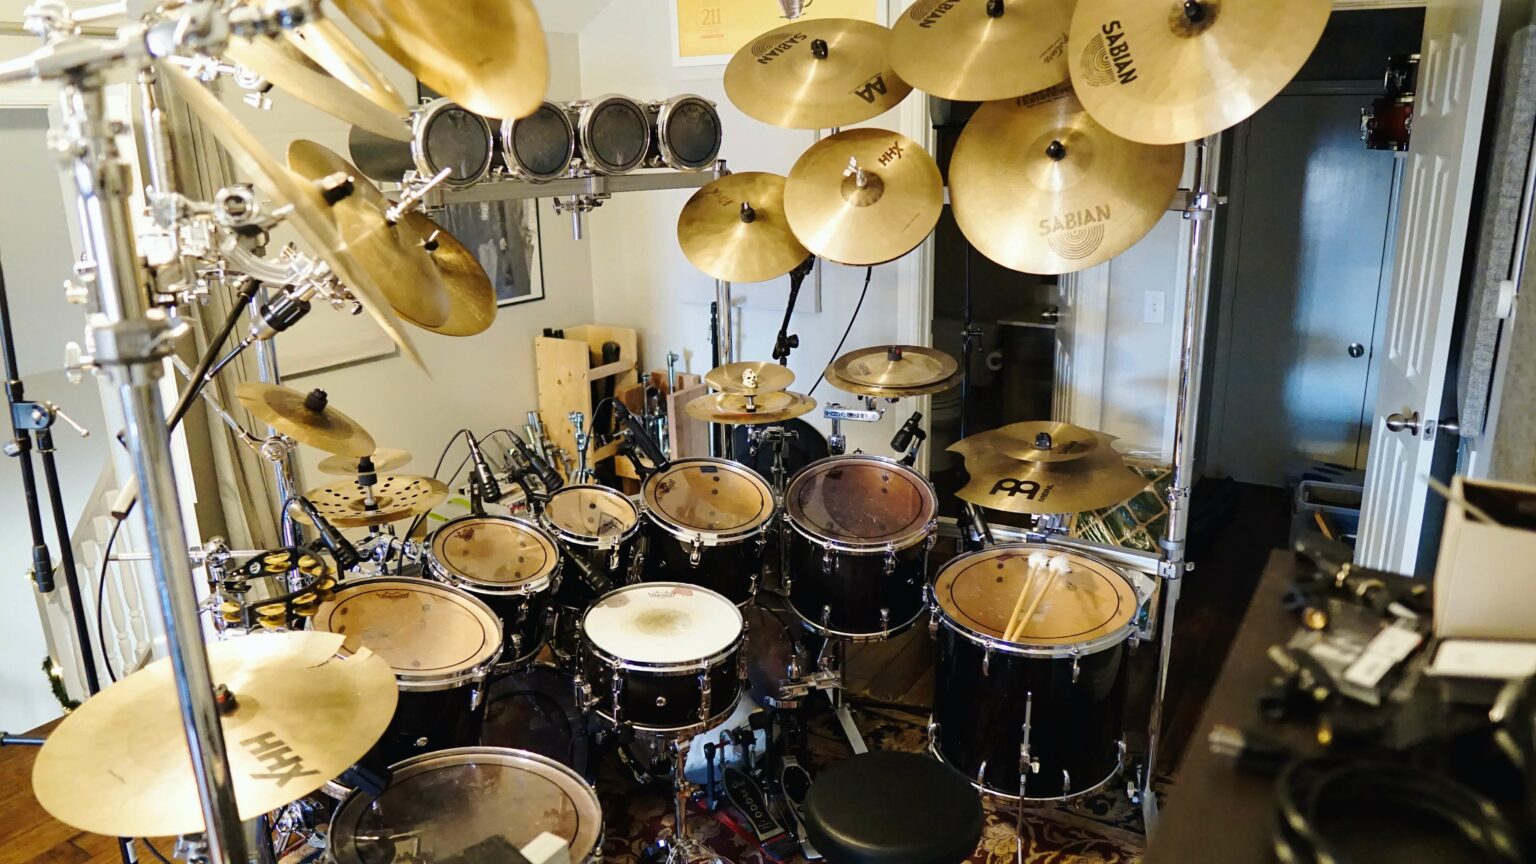
If you’re wondering what the final product sounds like, you can hear me use these very same techniques in most of my tracks. As I mentioned earlier, I’ve only been drumming for 1-2 months, so my MIDI drums still sound MUCH better.
However, I encourage every musician to strive for the “live kit” experience!
Here’s where you can listen to some “real life” examples:
If you have any questions about the techniques we’ve covered in this article, feel free to reach out to me in the comments section. You can also request any tutorials you’d like me to make in the future. I’d be more than happy to give you all some support!
I hope you enjoyed learning to program realistic MIDI drums. These techniques will most certainly improve the quality of your musical productions. I really recommend working with the best MIDI/USB keyboard controller you can find and acquiring an extensive library of drum samples. Even music producers who use live kits have grown accustomed to layering different samples to “beef up” the sound in the mix. Thanks for reading my article, I hope to hear from you in the next one!

