Have you ever experienced issues working with lavalier microphones?
If you haven’t, you either already know what you’re doing or you’ve been getting lucky… I eventually found out the hard way that there’s a right way and a wrong way to use them.
That’s why you’ll definitely want to learn how to use lavalier microphones the RIGHT WAY, RIGHT NOW.
Making mistakes is an excellent way to learn, but I thought I’d save you (and everyone else) the trouble!
It’s quite simple, LOTS of things can go wrong when using lavalier microphones so you need to stay on top of things. It doesn’t matter whether you decide to work with wired or wireless lavalier microphones…
I’m going to teach you how to manage your power, how to manage your cables, how to position your lavalier microphones and finally, how to conduct a proper soundcheck.
Of course, I’ll also be recommending some important tools that you might be missing.
Read until the end and I guarantee that you’ll be more confident on your next gig!
- Wired vs Wireless Lavalier Microphones (PROS/CONS)
- Lavalier Microphones Power Management
- Lavalier Microphone Cable Management
- 3 Ways To Place a Lavalier Microphone
- Soundcheck: Lavalier Microphone Troubleshooting
- Summary: How To Use a Lavalier Microphone
Wired vs Wireless Lavalier Microphones (PROS/CONS)
Wired Lavalier Microphones
Wired is less expensive, sure…
BUT, you may need to purchase a recording device for each microphone.

If not, then you’ll definitely be restricting yourself to a stationary setting. In other words, your subject(s) won’t be able to move around freely.
That being said, you’ll never experience RF interference with wired lavalier microphones.
Well, it’ll be MUCH less likely (still possible though)!
PROS
- RF interference isn’t a serious issue (unless you’ve got terrible quality lavs)
- Much less baterries to worry about
CONS
- Restricts the movements of you and your subject(s)
- Requires an individual recording device for each lav if you want more mobility
Wireless Lavalier Microphones
When it comes to wireless lavalier microphones though, RF interference is a real issue. That’s why some of the higher-end microphones allow you to tweak the frequency.
If your wireless lavs don’t have that option, you’ll just have to deal with it in other ways.
,2.4G Wireless Lavalier Microphone System Dual Transmitter & 1 Receiver Lapel mic for Vlogging Streaming YouTube go wirelessly on Camera Smartphone Tablet, SYNCO-G2-Wireless-Go-Microphone")
However, wireless lavalier microphones have ONE major advantage and that’s the ability to monitor your entire cast using one mixer/recorder.
Hell, you could also be booming at the same time!
Just keep in mind that you’ll constantly need to be checking your battery levels…
PROS
- Increased mobility for subject(s) and yourself
- Monitor all wireless lavs with one mixer/recorder while being mobile
CONS
- Keeping an eye on battery levels becomes increasingly difficult with the amount of lavs
- RF interference could be a serious issue
Lavalier Microphone Power Management
It won’t be as much of an issue with wired lavalier microphones.
At most, you’ll simply need to make sure each recording device has enough batteries.
When it comes to wireless lavalier microphones though, you’ll always need to make sure that you’ve got enough battery life to make the take!
You’ll need to worry about the transmitter, the receiver AND your mixer/recorder.
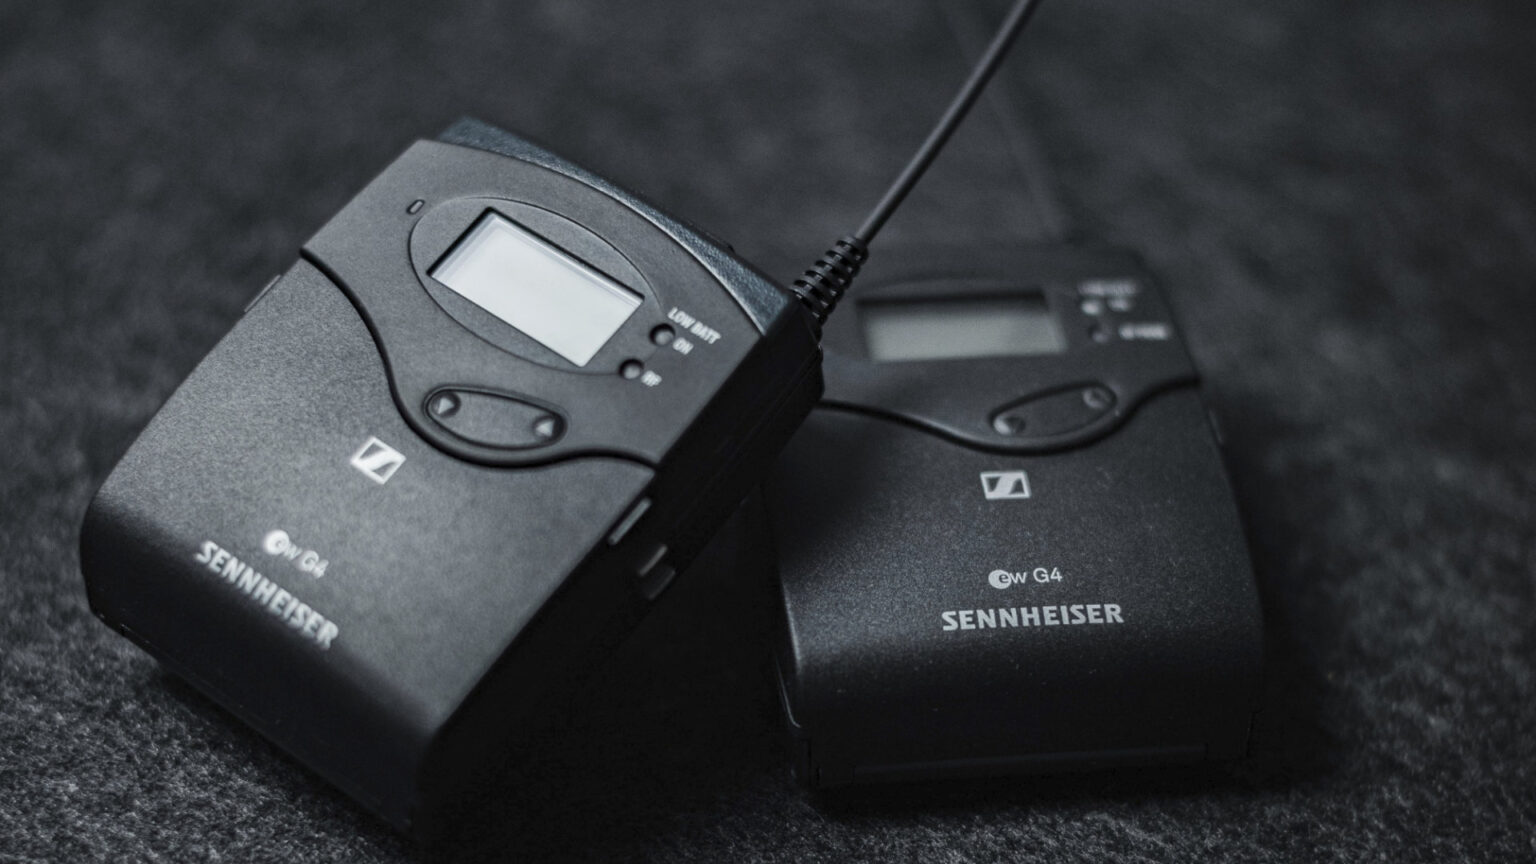
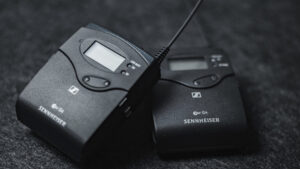
If you’re working with lavs like the Sennheiser G3, the only way to power them is by using AA batteries. As good as the G3s are, that can be quite difficult to keep track of.
Granted, they’ll last a few hours with high-quality batteries.
However, one of the reasons I like my Synco G2s so much is because they can be powered with an external power bank while you’re using them.
Lots of high-quality lavalier microphones also have this option.
I definitely recommend pairing each transmitter and receiver with a power bank that way you can always connect them if battery levels are running low.
These power banks can fit in a pocket, so it won’t be too much of a hindrance for you or your subject(s).
If you’re not using power banks, just make sure to have plenty of AA batteries on hand!
Lavalier Microphone Cable Management
You’ll ALWAYS be dealing with cables, even with wireless lavalier microphones.
To be more specific, we’re talking about the cable that connects the lavalier microphone to the transmitter or recording device. That cable picks up vibrations… Yup!
If you slide your finger up and down the cable, you’ll hear what I mean.
It’s the same situation with all microphone cables, but those cables aren’t usually moving. Your subject(s) will definitely NOT be sitting still 100% of the time.
So, there are TWO things we can do to mitigate cable noise…
- Make a small loop at the base of the lavalier microphone
- Make a loop a few inches down the cable and tape it
The first one is MANDATORY while the second one is optional.

However, both of these manoeuvres accomplish the same thing and that’s to release tension!
When the cable moves now, it shouldn’t make any noise because those loops will stop the vibrations from reaching the microphone capsule.
The second one will also make it easier for your subject(s) to move around, everyone’s happy!
Next, I’ll be showing you how to reduce noise by PROPERLY placing your lavalier microphones.
3 Ways To Place Your Lavalier Microphones
On a Shirt

One of the best locations to place your lavalier microphones is on the shirt’s front placket (where the shirt is buttoned/unbuttoned).
If the shirt has a pocket, that could also be a pretty good location!
In regards to height, it’ll be optimal to place the microphone somewhere between the lower and middle chest. Try different placements to find the best position for each subject.
You’ll also want to make sure to hide the cable behind the shirt using a loop as we discussed in the section on cable management. It’ll look AND sound more professional!
On a T-Shirt

T-shirts are more difficult because you only have the collar to work with.
If by chance the t-shirt has a pocket, I’d use that instead! Why?
Your sound won’t be as good if you get too close to the neck. You also increase the risk of having beards and jewelry rubbing up against your lavalier microphone.
It’s not impossible to get a good sound this way, but I definitely recommend pointing the lavalier microphone AWAY from the neck if you’re placing it on the t-shirt’s collar.
Also, don’t forget to make a loop with your cable to avoid pulling on the collar.
On The Chest


Do you need to have your lavalier microphone out of sight?
In most situations, the best way to achieve this will be by creating a shell made of gaffer or medical tape and sticking it on your subject’s upper chest.

It won’t be ideal for your subject (especially when they remove it) and it’ll also muffle your lavalier microphone a bit. BUT, it might just be your only option in some cases!
If the microphone is showing over the shirt, you can try placing it under the collar instead.
Soundcheck: Lavalier Microphone Troubleshooting
Regardless of where and how you’ve positioned your lavalier microphone(s), you’ll need to confirm if you made the right decision by doing a soundcheck.
Now, the best time to do this is BEFORE the shoot begins!
If possible, I recommend sound-checking each subject 1-on-1 to make sure the microphone placement is optimized for his/her attire, physiology and voice.
However, you may not always have the time to be that diligent.
In most cases, you’ll simply want to soundcheck the whole cast while you start mixing.
If your mixer/recorder has the ability, you can compensate by isolating each track. Listen for a few moments to make sure you don’t hear any rubbing, interference, etc…
If you do, then you’ll need to get that sorted out BEFORE the first take.
It’ll also be the last chance for you to double-check battery levels.
When setting levels for lavalier microphones, I always try to keep them as low as possible (usually peaking around -18 dB). I’d rather not risk clipping when someone laughs, yells, etc…
If your recording device has 32-bit float recording, you won’t have to worry about that though.
For everyone else, it’s better to be safe than sorry!
Summary: How To Use a Lavalier Microphone
That’s a lot of information to digest for a clip-on mic, isn’t it?
Well, I sometimes feel like my job as a sound mixer/recordist is to overthink everything. It’s not as simple as clipping on a lavalier microphone and calling it a day!
You’re essentially managing power, cables, talent AND sound.
It requires lots of focus and please, I highly encourage you to make yourself some checklists to make it easier on yourself. I keep them on my smartphone’s note app.
It’s also a good idea to take note of which input is associated to who.
When you’re working with more than 2 lavalier microphones, it’s very easy to lose track of things.
Also, make sure to communicate with your director and DOP.
Establish great communication from the get-go that way if you hear something go wrong in the middle of a take, you can either signal that or ask them to do another take.
It’s actually a HUGE responsibility so don’t take any of this lightly.
Do you have any questions? Leave them down in the comments and I’ll be more than happy to answer!
Sources
https://www.youtube.com/watch?v=BjMg–3-SxI
https://www.youtube.com/watch?v=F_OWfO22_7o