Are you a passionate guitarist eager to bring your music to life in the comfort of your own space?
Whether you want to record electric guitar with or without an amp, the ability to capture your instrument professionally awaits!
Get ready to explore an array of guitar recording techniques. Whether you’re yearning for the raw, unfiltered energy of an electric guitar amplifier or the convenience of using amp modelling software, our guide has you covered.
Once you acquire these basic skills, you’ll be able to move on to producing entire tracks.
We’ll talk more about that later. For now, let’s start tracking some guitars!
Table of Contents
What you’ll need to record electric guitar
Before diving into it, let’s ensure you’re equipped with the right tools to record electric guitar.
If you’re reading this, chances are you’ve already got yourself a guitar and maybe even an amplifier (although the amplifier isn’t required).
That being the case, you only really need one or two pieces of equipment to get started…
Audio Interfaces
To bridge the analog world of your guitar and amplifier with the digital realm of your computer, an audio interface is non-negotiable.
It serves as the translator, converting your raw analog signal into a format your computer can understand. For optimal results, I recommend investing in a high-quality audio interface, and one brand that consistently delivers outstanding performance is Universal Audio (UAD).
The best part about UAD audio interfaces for guitarists is that they can host amp modelling plugins onboard with NO LATENCY!
The analog modelling is also unsurpassed. I’d love to talk about it some more, but I’ll point you to another post if you’re interested.
Microphones
While recording directly into the audio interface using amp modeling software is the most budget-friendly and straightforward approach, incorporating microphones can add a layer of depth and authenticity to your recordings.
For electric guitars, a dynamic microphone like the Shure SM57 is a classic choice known for capturing the punch and dynamics of guitar amps.
Remember, the choice between direct recording and using microphones is a personal one, and both approaches can yield professional results. It ultimately depends on the degree of detail and customization you’d like to ensure.
Re-Amp, Load and DI Boxes
You may or may not have heard of re-amp, load and DI boxes.
Well, the truth is they were VERY important for direct recording in the past. But nowadays, most audio interfaces come equipped with HI-Z (high-impedance) inputs designed for electric guitar and bass.
However, I will still recommend getting a hold of at least one DI box (you’ll see why later).
You may want to consider a load box (a reverse DI box, essentially), if you want to record your guitar amp directly into your audio interface (without using a microphone). That’s something we’ll discuss later.
We’ll also discuss re-amping later on (hint: this is why you need a clean DI track).
For now, let’s get into the recording techniques…
Record electric guitar (without an amp)
There are many articles that teach how to record electric guitar at home using a cheap audio interface and FREE amp modelling plugins.
Well, there are TWO reasons why that won’t get you professional results…
- You’ll need a powerful computer to monitor your performance w/ amp modelling in the context of a session (without experiencing audio latency)
- FREE amp modelling plugins (like the ones included in GarageBand) don’t sound professional on their own. Feel free to mix them in though!
To address the first, we’ll need an audio interface with onboard DSP (that’s why I mentioned UAD earlier).
For the second, we’ll need amp modelling plugins that actually competes with the real thing.
In essence, we’ll be using the DSP-powered amp modelling plugins to simulate an amp while recording.
BUT, here’s where it gets interesting! I’m also recommending a DI box to split your guitar performance into TWO signals…
- The first signal goes into the DI, out the “throughput” and into the amp model (input 1)
- The second signal goes into the DI, out the “output” and into input 2
The clean DI signal will give us a “raw” electric guitar track if ever we want to change the amp model or potentially re-amp (more on that later).
This method is highly professional and could save you the need to re-record a guitar track!
You could also process that clean DI signal through a non-DSP amp modelling plugin and layer it with the original to create depth in your mix.
We’re getting ahead of ourselves though! Let’s figure out how to achieve this…
Step 1
Connect your electric guitar to your DI box’s input (I recommend THIS ONE).

Step 2
Route the “output” on your DI box input 2 on your audio interface (I recommend THIS ONE).

Step 3
Route the “throughput” on your DI box to input 1 (HI-Z) on your audio interface.
Step 4
Create 2 audio tracks in your DAW and route them to the appropriate inputs.
Step 5
Load a DSP amp model on input 1.
Step 6
RECORD!!
Record electric guitar (with an amp, without microphone)
Recording a guitar amp without a microphone… Is that even possible? YES!!
Instead of a microphone, we’ll be using what we refer to as a load box (or an “amp DI”). It’ll allow us to record the signal coming out of our guitar amp’s speaker output.
We’ll then simulate a speaker cabinet using an impulse response which I’ve talked about plenty in THIS post.
This technique will give you a lot more possibilities for sculpting your tone in post-production.
I still recommend duplicating your electric guitar’s signal using a DI box if you’re not using this technique to reamp though. You’d already have a DI track if you were reamping, of course.
So, let’s see what we’ll need to record electric guitar with a load box…
Step 1
Connect your electric guitar to your DI box’s input.

Step 2
Route the “output” on your DI box input 2 on your audio interface and the “throughput” to your guitar amp’s input.
Step 3
Route the speaker output on your guitar amp to a load box (I recommend THIS ONE).
Step 4
Route your load box to your audio interface’s input 1.
Step 5
Create 2 audio tracks in your DAW and route them to the appropriate inputs.
Step 6
RECORD!!
Step 7 (optional)
Insert an impulse response loader on input 1 (this one is FREE).
Record electric guitar (with an amp, with microphone)
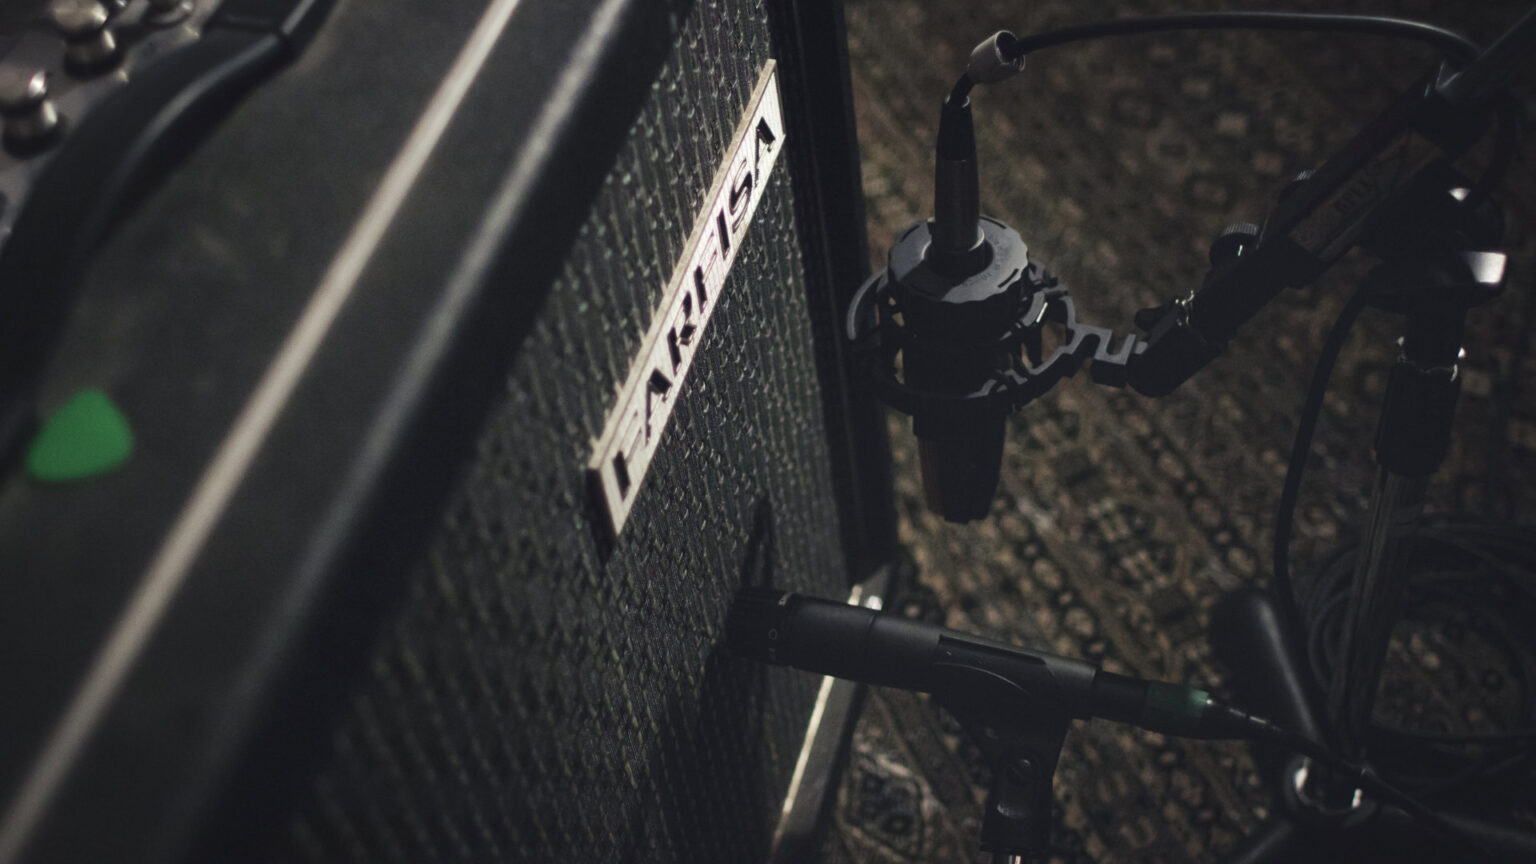
Okay, now we’re going to be using our dynamic microphone to mic your guitar amp!
This technique is almost identical to the previous. The only difference is that we’re not simulating the speaker cabinet, we’re actually using a real one.
That being said, we’ll need to consider microphones and microphone placement.
If you want to make your life easier though, just start with a dynamic microphone like the Shure SM57.
I also recommend using a DI box to duplicate your original signal so you can have a clean copy.
Alright, let’s see what it takes to record electric guitar with a speaker cabinet and microphone…
Step 1
Connect your electric guitar to your DI box’s input.

Step 2
Route the “output” on your DI box input 2 on your audio interface and the “throughput” to your guitar amp’s input.
Step 3
Place a dynamic microphone about 2-3 inches away from the speaker (experiment with different positions).
Step 4
Route your microphone to your audio interface’s input 1.
Step 5
Create 2 audio tracks in your DAW and route them to the appropriate inputs.
Step 6
RECORD!!
What about re-amping?
You remember all of those DI tracks I made you record? Well, they’re about to come in handy!
Let’s say you recorded using only the “dirty” signal and you didn’t like your tone… You’d have to re-record the entire thing!
However, we created a carbon copy of the original signal using input 2 on our audio interface which can be “re-amped”.
What is re-amping? It’s basically re-feeding that same signal to an amp (whether it be another plugin/preset or an actual amp).
Doing the latter is more difficult though… We’ll need what is refered to as a re-amp box (a DI box in reverse):
You’ll use that to send your DI signal from your audio interface’s output to an external amp (where you’ll be able to dial in the perfect tone).
From there, you can either use a microphone or the load box method. Your choice!
Should I record electric guitar in MONO or in STEREO?
You may have noticed that we’ve been using 2 inputs throughout this entire guide.
However, this doesn NOT mean that we’re recording in stereo.
In 99.9% of mixes, electric guitars are MONO and if there are more than one, they’re usually panned left and right.
Does that mean it’s impossible to record electric guitar in stereo?
Of course not, there are actually some electric guitars that have TRS outputs to accomodate this.
Truth be told, I don’t really see the point…
If you really wanted to, then you’d need a stereo DI box, 2 amps and/or 2 microphones.
If you don’t see the point of doing that, then you don’t need to record electric guitar in stereo!
Summary: How To Record Electric Guitar at Home
Congratulations! You’ve completed your introduction to recording electric guitar at home.
Whether you’re drawn to the raw power of an amplifier or prefer the versatility of amp modeling software, our comprehensive guide has equipped you with the essential knowledge to create professional-grade recordings.
As you venture forward into the world of music production, remember that the skills you’ve acquired lay the foundation for producing entire tracks. The possibilities are endless, and your creativity is the only limit.
But why stop here? To truly master the art of music production, from recording to the final mix, consider joining our online academy?
Ready to transform your home recordings into sonic wonders? Click HERE to explore our courses and start your career today!
Let us know how YOU record electric guitar in the comments and WHY!
As always, stay tuned for more in-depth guides and advanced techniques!
